
I do quite a bit of small hand coded test projects. Usually just a few lines of code to test some code or concept. One of the things I like to do is add the Icetips Utilities to those projects so I can use methods like ODS (OutputDebugString)
Below I go through the steps and at the bottom is a short video of the whole process (1 minute, 31 seconds)
To create a small project like that you need to create a project using the "Win32 EXE" option when you create the solution.
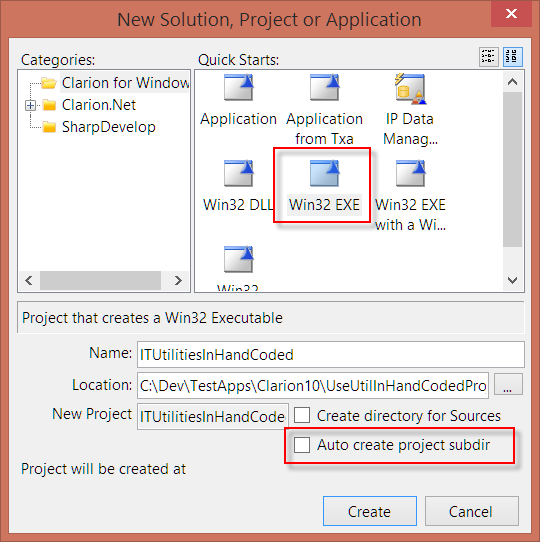
I also always uncheck the "Auto create project subdir" as I have normally create the folder before I create the solution, but if you haven't check this and it will create a sub folder with the name of the project.
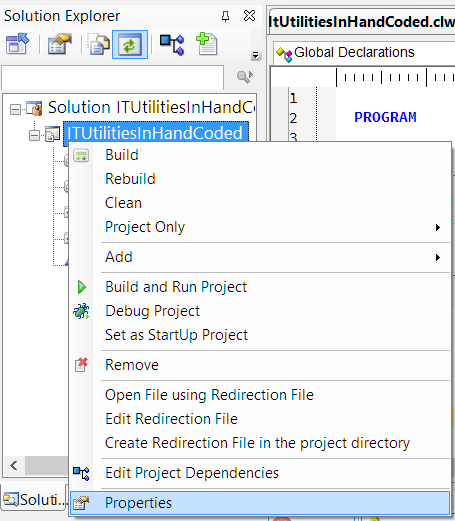
The next step is to change the project settings. In the Solution Explorer right click on the project node and select "Properties" from the popup menu.
In the project properties, select the "Compiling" tab and in the "Conditional Compilation Symbols" enter:
_ABCDllMode_=>0;_ABCLinkMode_=>1;_ITUtilDllMode_=>0;_ITUtilLinkMode_=>1
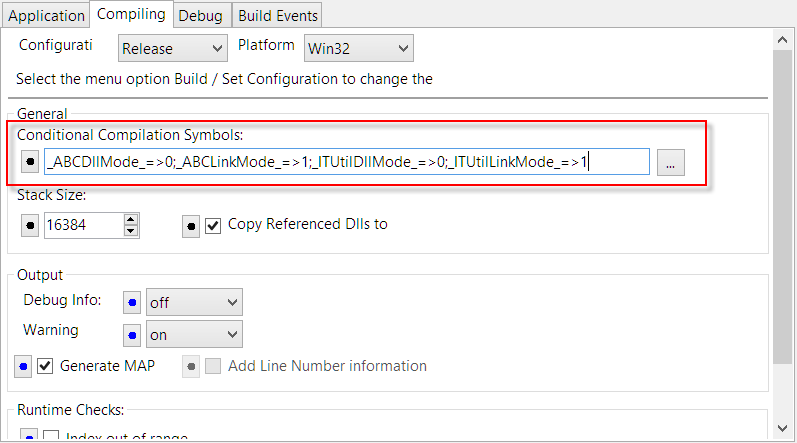
This will compile both the ABC classes and the Icetips Utility classes. Note that this setting is for an EXE. If you are compiling a DLL, then you need to switch the 0 and 1 in the settings above.
The first thing you need to do is to include the main header file:
INCLUDE('ITUtilityClass.inc'),ONCE
I do this above the MAP statement.
Now you can use any code from the Icetips Utilities in your project. For example:
ITU ITUtilityClass
 CODE
 MESSAGE('Icetips Utilities: ' & ITU.EXEName)
In the video below (no sound) go through each of the steps to make this happen:
I hope this may help some of you to use the power of the Icetips Utilities in your source projects 🙂
Arnor Baldvinsson
![]()